Build Process
From initial contact to the first putt
The Phone Call
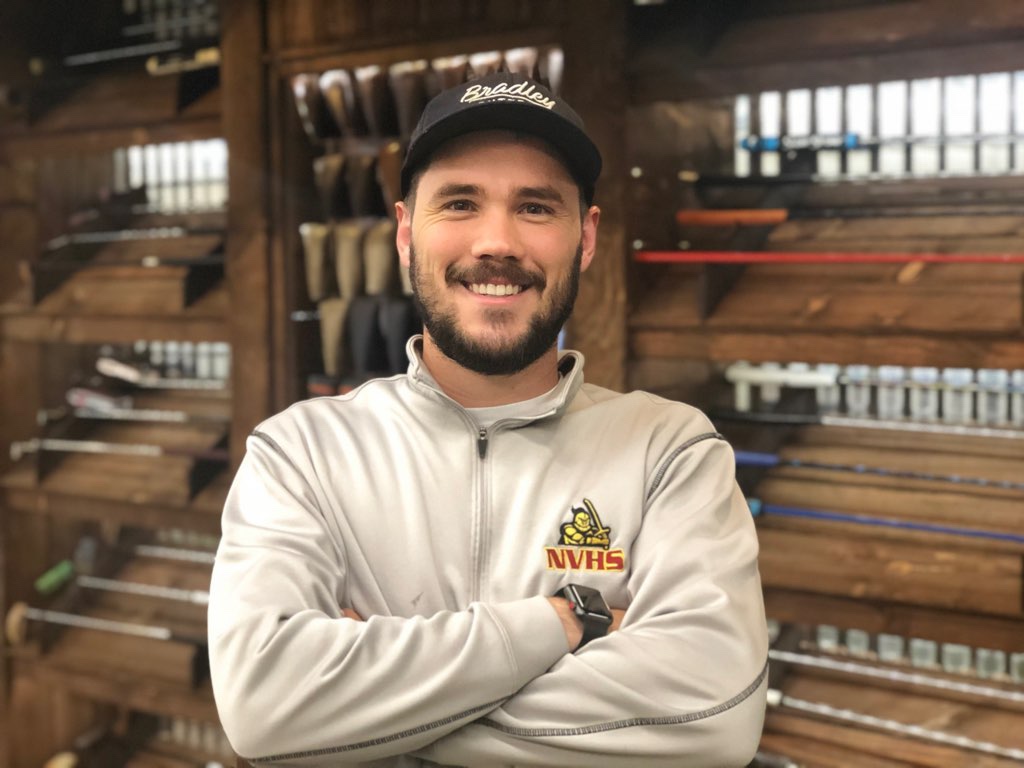
With so many possibilities for your putter, the best way to start the project is a phone call with Brad. You will first talk about the stories you want to tell, and then Brad will lean on his years of experience to throw out as many ideas as possible. From there, you’ll decide together on a plan that’s at least 90% complete. Then you can finalize details as the putter comes to life. Expect to spend $1k-$2k, depending on the complexity.
Plan on 30 minutes.
Trello
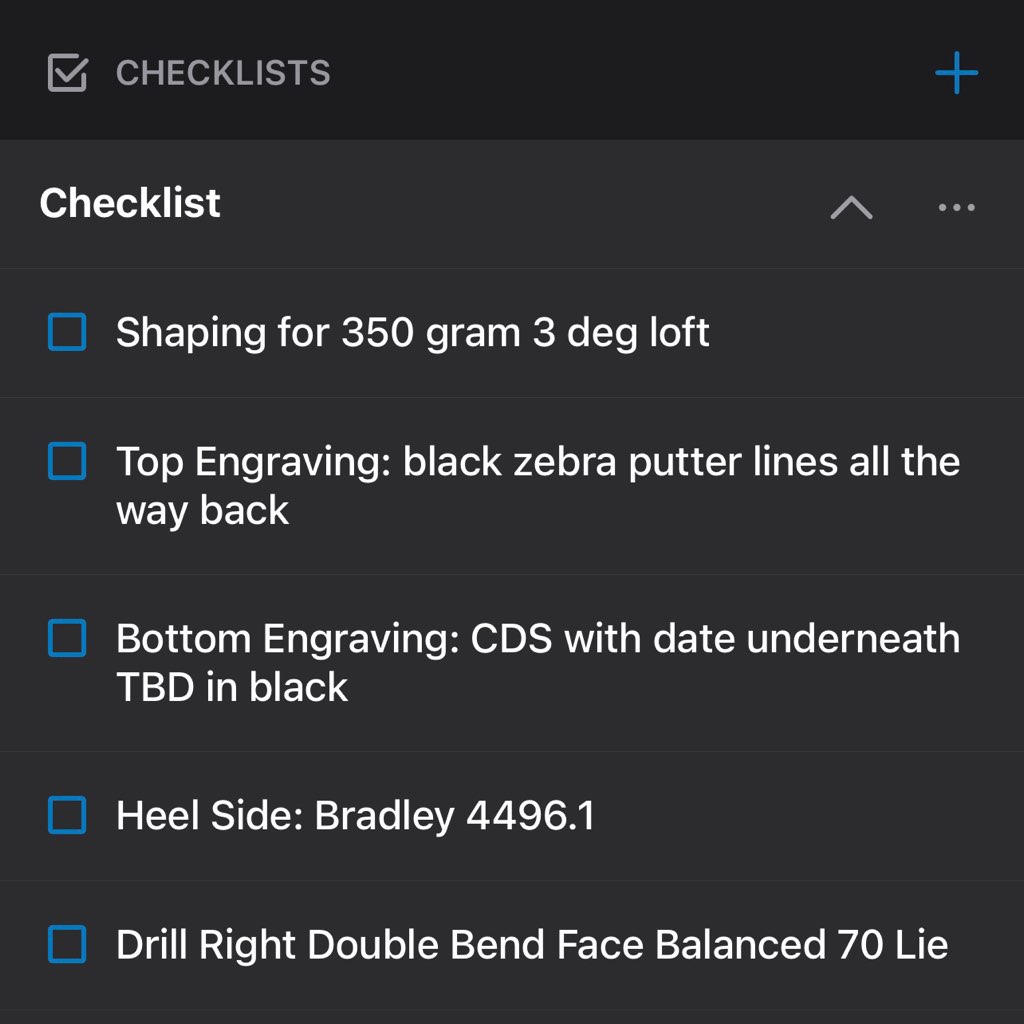
After the phone call, the order is converted to a Trello board. This is where you will see the checklists for our plan to make your putter, as well as picture updates every step of the way. Brad is making you a putter that’s never existed before, so don’t be afraid to reach out if something isn’t looking like you imagined. He guarantees you’ll love the putter, and won’t stop until it’s perfect.
Block Creation
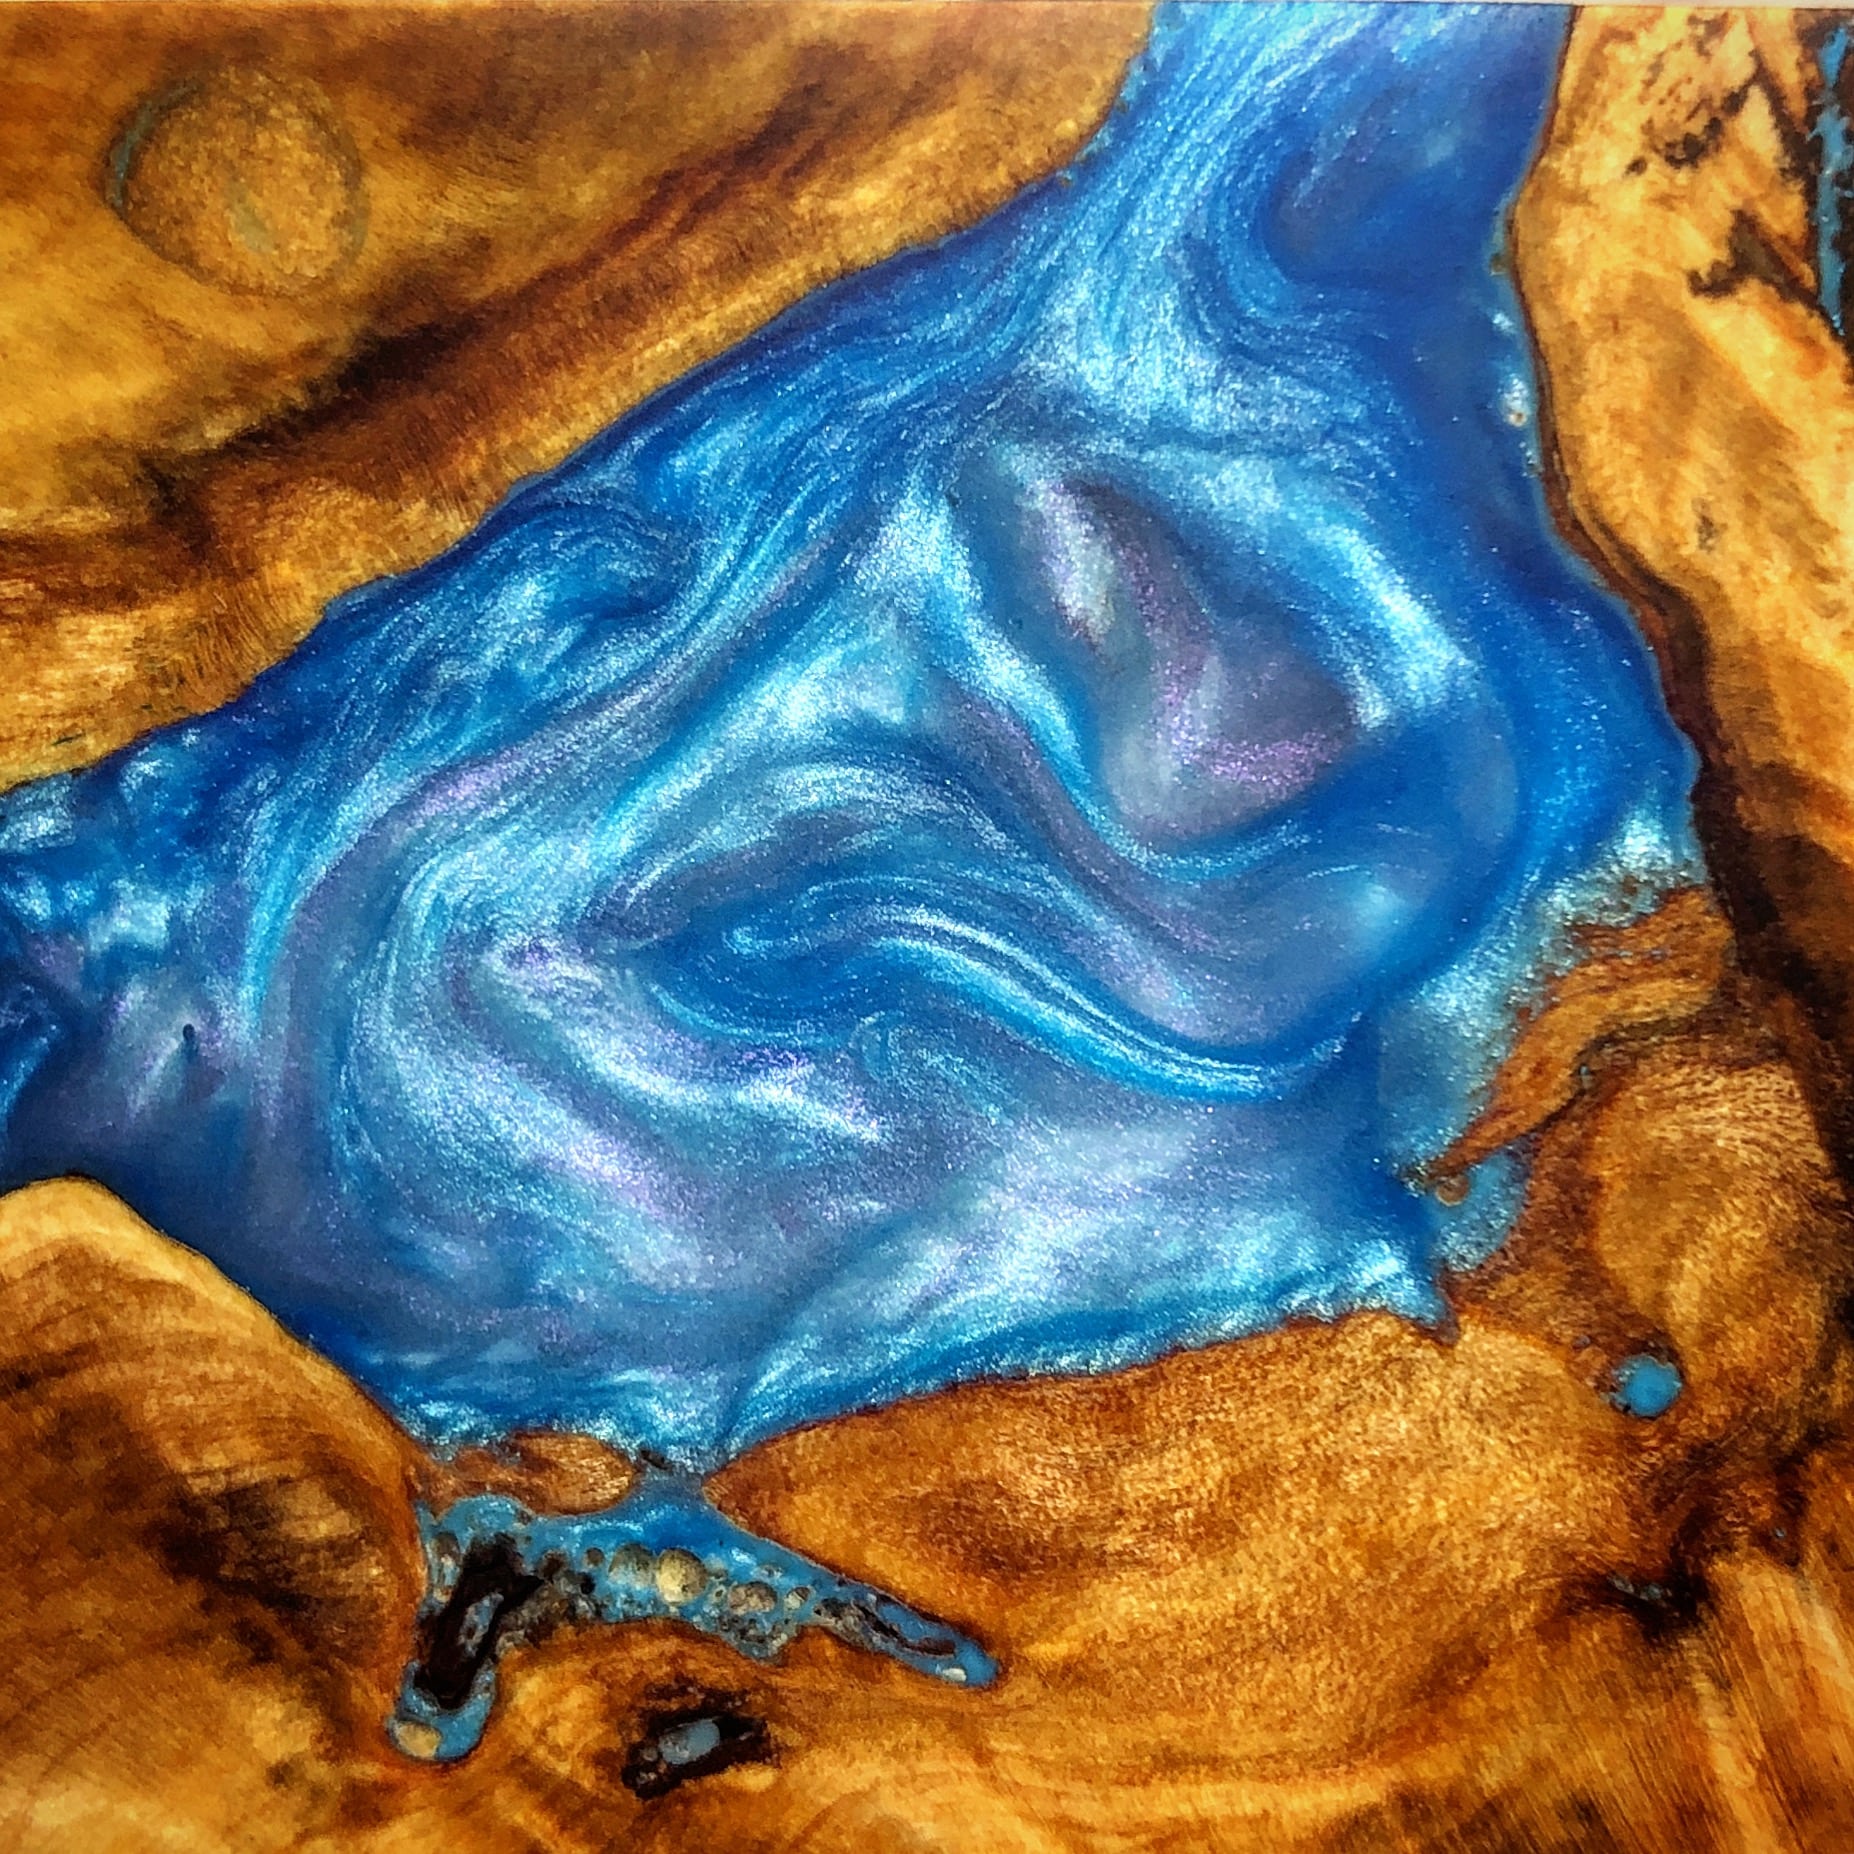
Brad will search for the perfect piece of wood to serve as the foundation of your putter. It then gets dried, stabilized to make it weatherproof and more durable, and then poured with acrylic to add color and depth. Any embedded items will be placed on the wood prior to the acrylic pour.
1-2 weeks typically.
Manufacturing
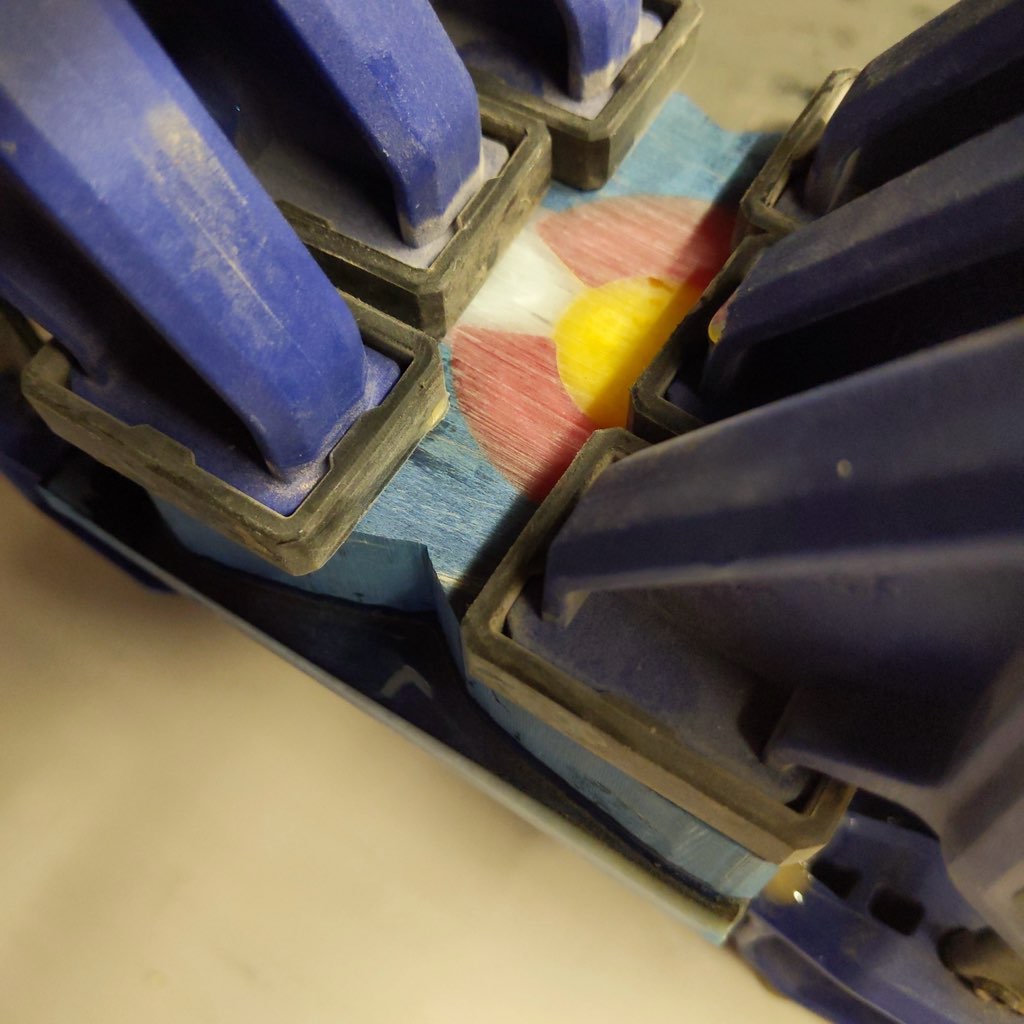
.After finding the perfect location in the block for your putter, it is split and weights are added from below. Then the base cap is precisely realigned and allowed to cure. When sanding the final head shape, the seam disappears into the bottom fillet. Your loft is cut into the face, and the head is sanded until your desired weight is achieved.
2-3 days to add weights and shape it.
Engraving
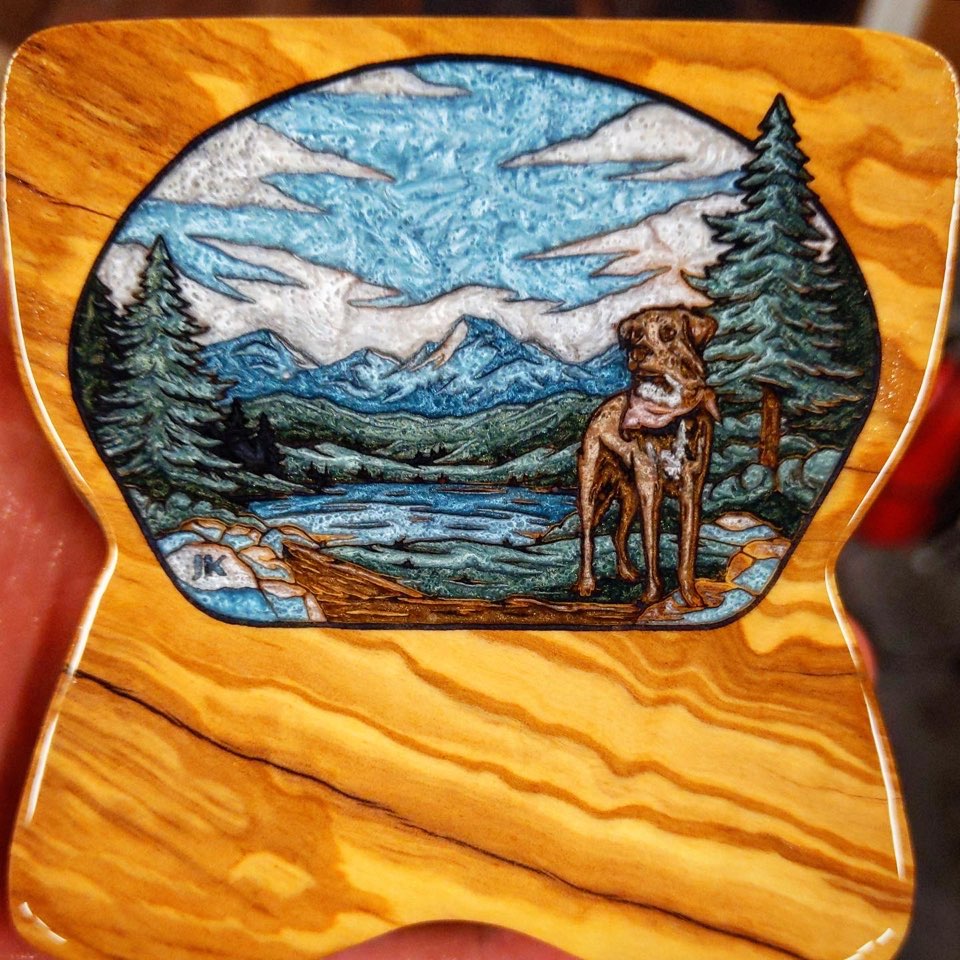
If you’d like to further customize your putter, a detailed engraving can take it to the next level. Send in your own image or logo, and Brad will use a laser engraver and UV resin to apply it. Each color area gets cut by the laser, and then filled and cured with the desired color. For multi-colored images, the putter is placed back in the engraver to cut the next color area, and the process repeats for each color.
1-2 weeks to design, 1 day to engrave.
Shaft and Gloss
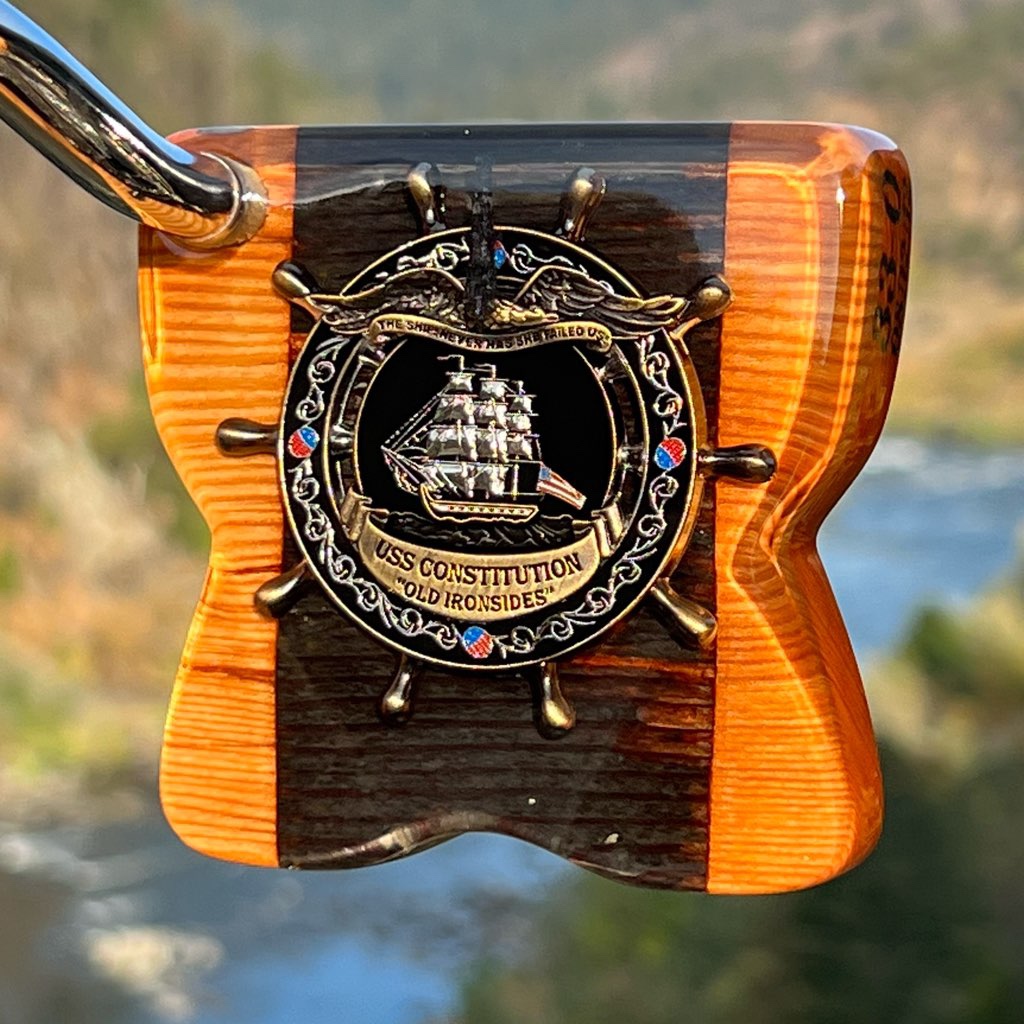
The putter then has a chrome, black, or white shaft installed at your desired length and lie angle. The head can then receive several coats of gloss, which has multiple benefits. It protects the wood from discoloration due to fertilizers, keeps the acrylic colors bright and protected from UV damage, and enhances the depth and shine of both the wood grains and the acrylic transparency.
1 day to install the shaft.
1-2 weeks to gloss.
Shipping
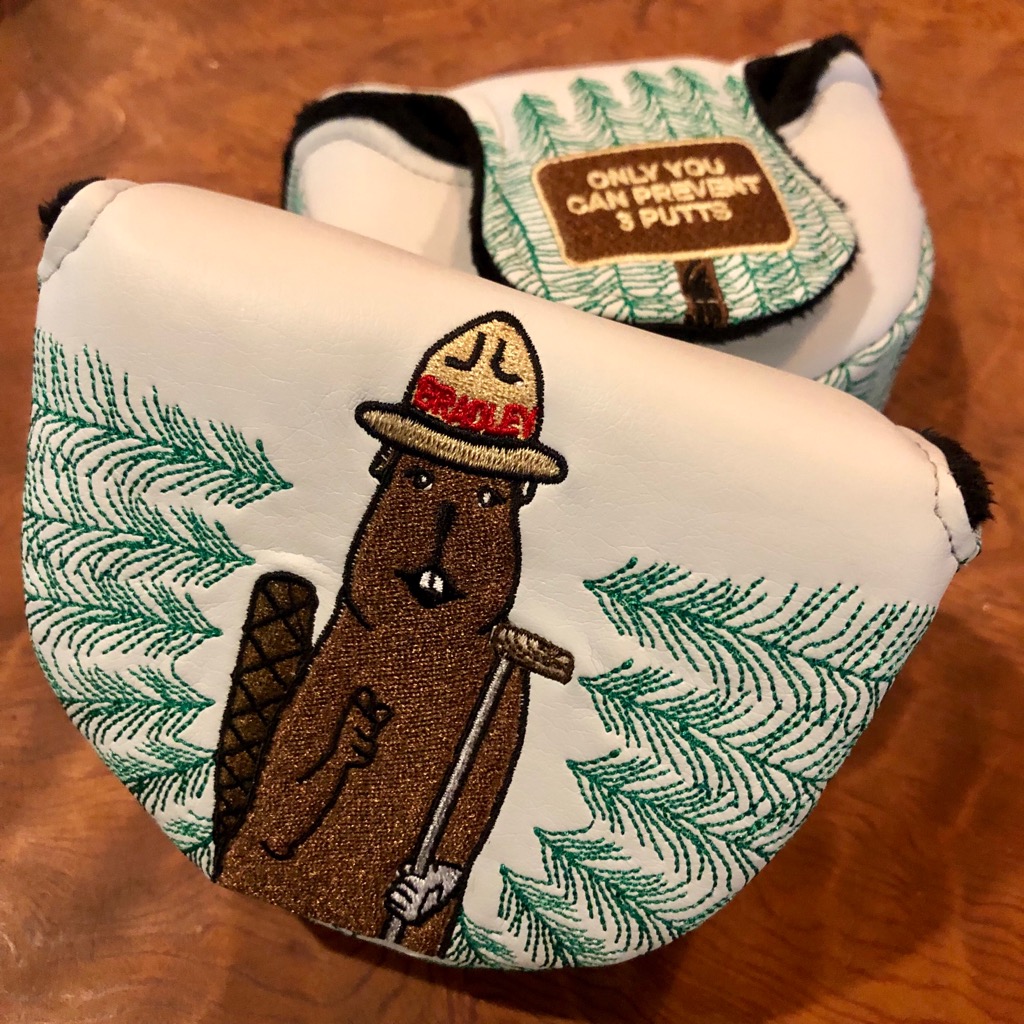
The “Only You Can Prevent Three Putts” cover comes standard with every putter, but we also have leather or even exotic skins available. Your putter will be sent via UPS in a custom Bradley Putter wood grain box. Inside the box you will find a canvas bag with your head cover, with your putter beneath that securely wrapped in paper. Cut the three pieces of tape on the front, then the tape on the sides, and lift up the flap. Then take it straight to the course, and enjoy the smooth feel and addicting performance.
3 day UPS domestically.
1 week international.
Next Steps
If you’ve got questions, that’s normal! There’s a few ways to contact Brad to learn more. Fill out the form below if you’re not ready for the phone call, but want to start the conversation. If you have an idea for your putter and are ready to talk to Brad, get on his calendar using the scheduling app. He will call you at your requested time.